Backlighting Negatives (Pt. 3)

If you haven't yet, you might enjoy reading part 1 & part 2 first.
I think at this point in my backlighting experiment, we're finally starting to see some really interesting results. For this round, I sought images with maximum contrast in order to simply focus on creating the effect that I'm after, with no particular concern about creating something pictorial.
Vector line art
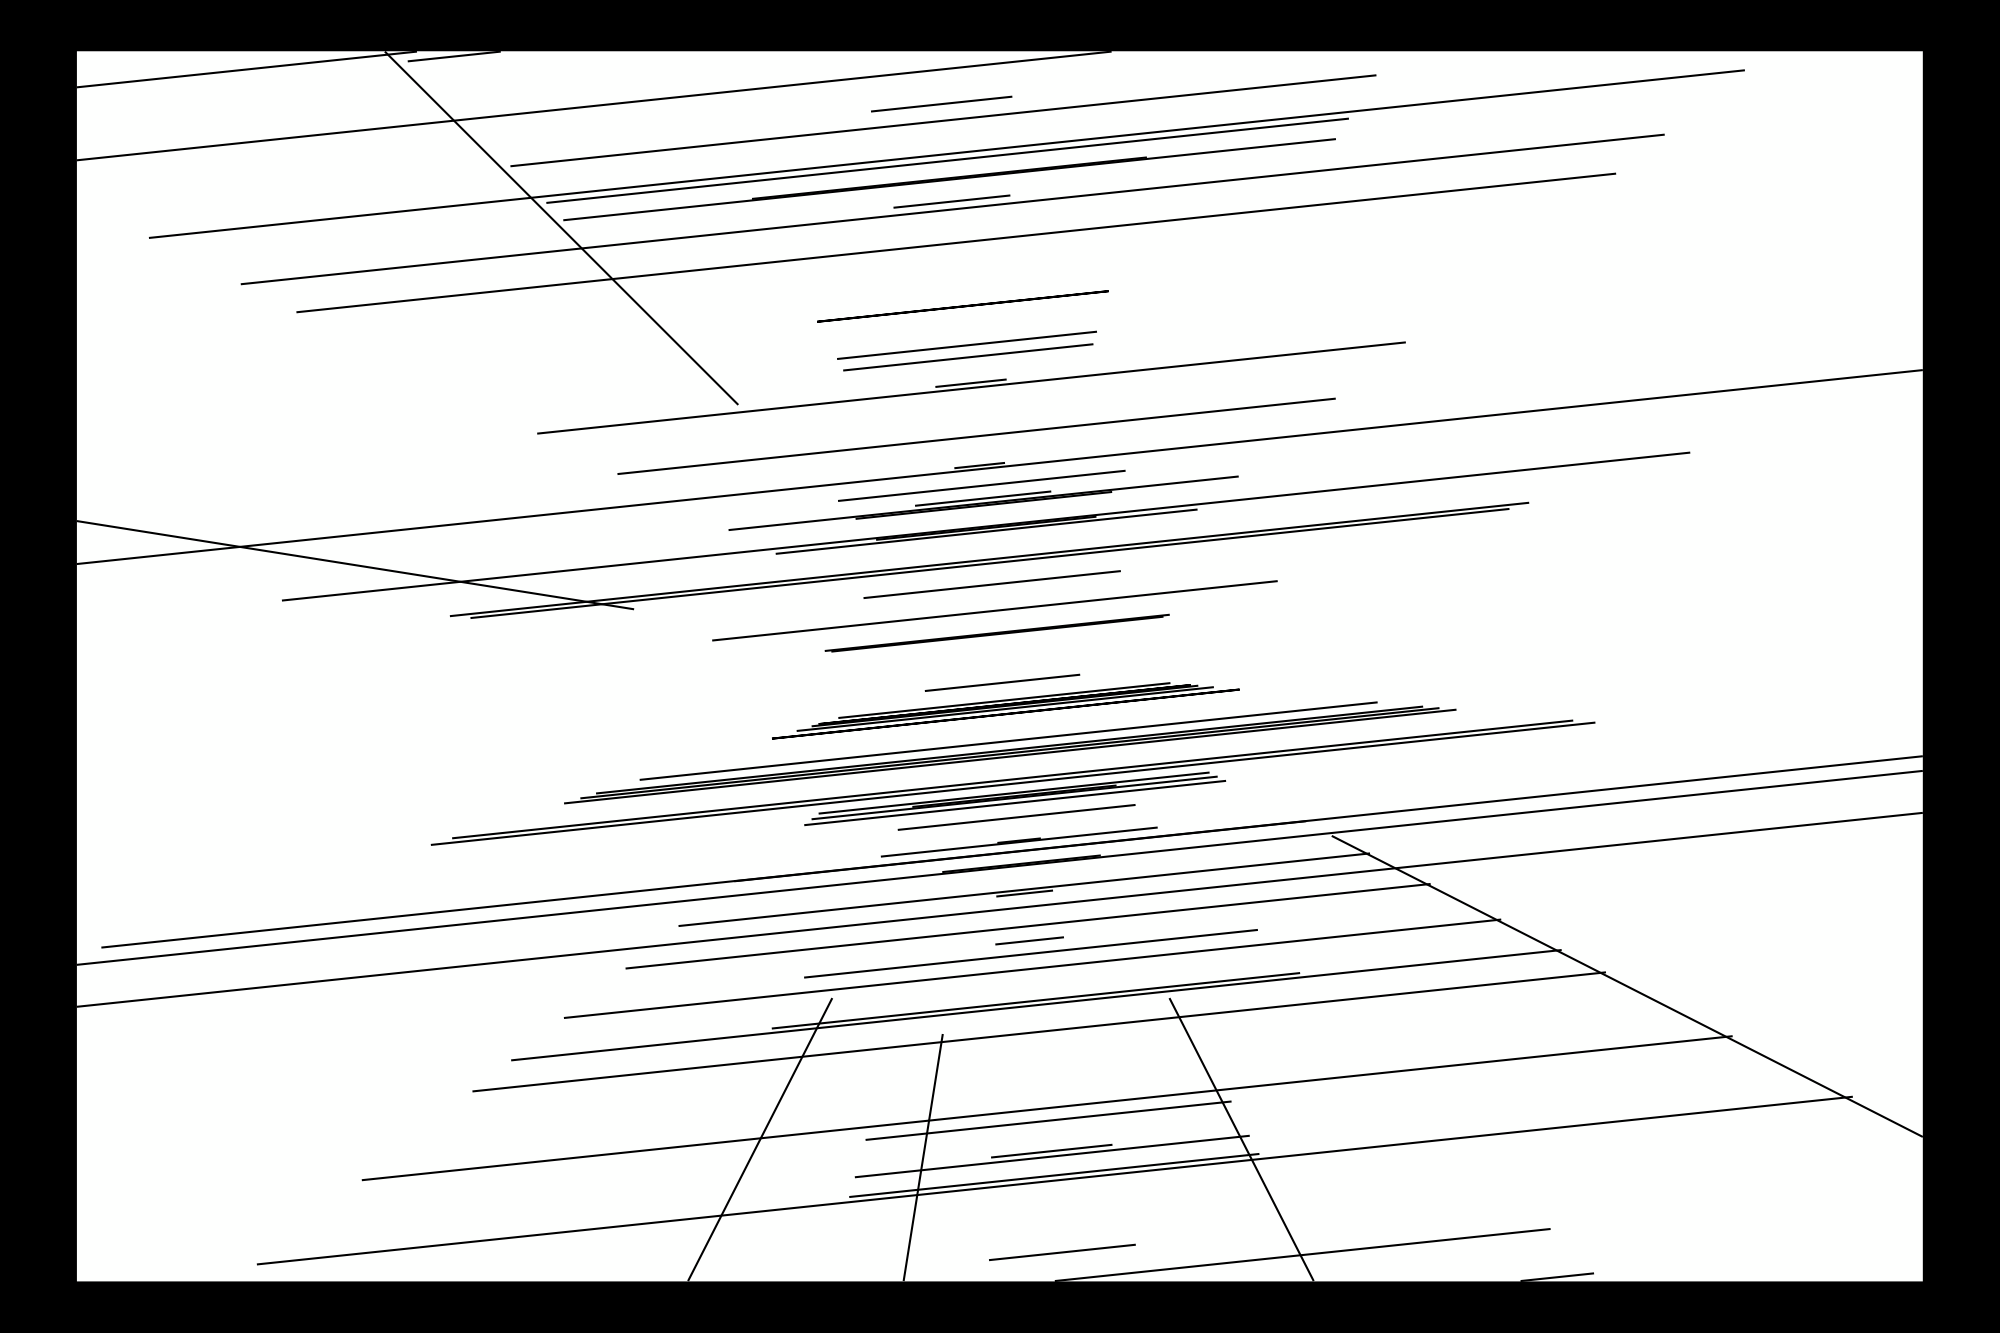
Taking inspiration from the recent trend in creating art for pen plotters, I found a some examples online of folks programmatically generating black-and-white line art (see below).
Here's one line-art image that I generated—let's follow it through the entire process!
Projection
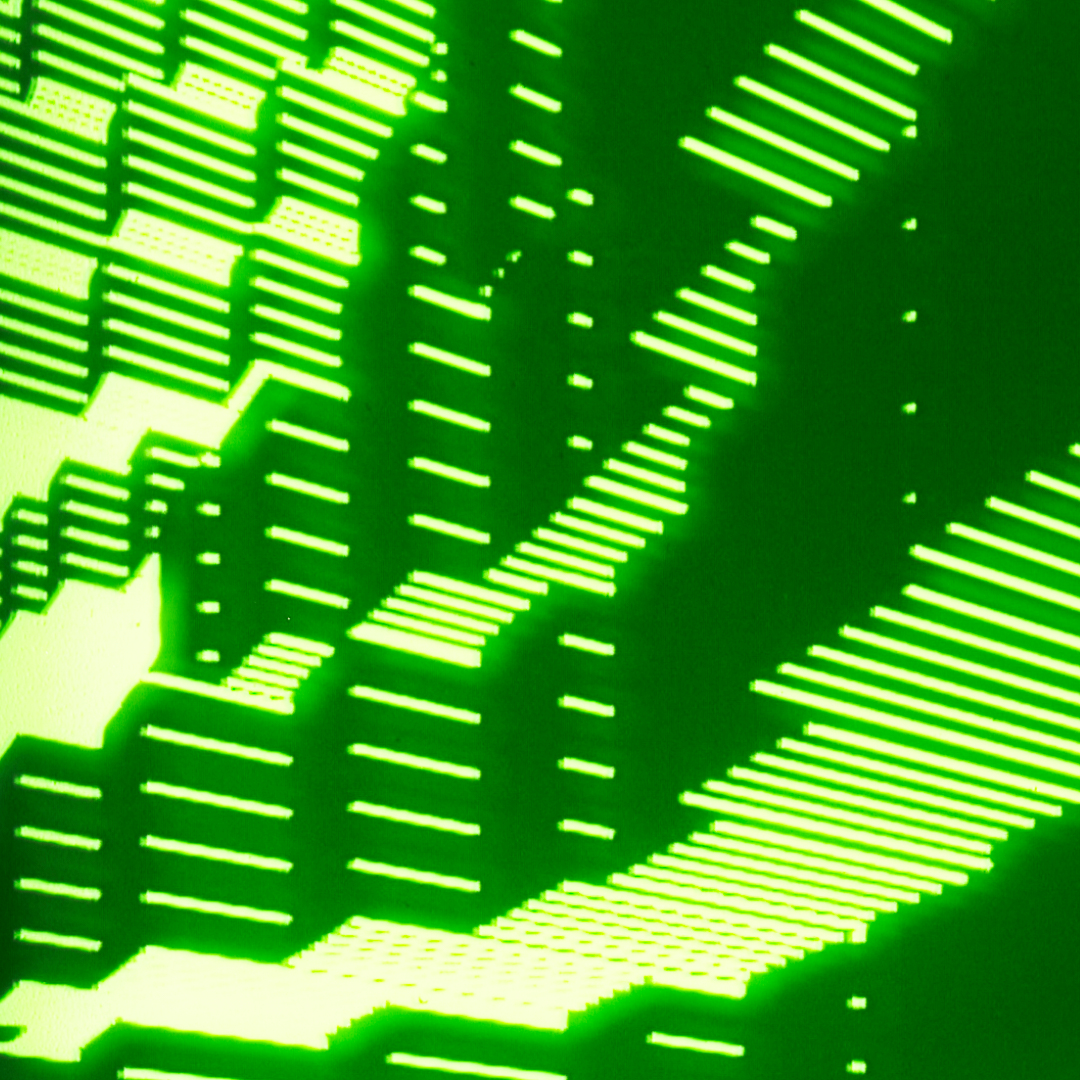
I then projected this image onto a large television, just as above—white background, black lines. I then photographed the television screen with a film camera (Pentax ME Super + SMC Pentax 55mm f/1.8 for the curious) loaded with ultra-low grain, ultra-high contrast film (ORWO TF12d sound recording film, AKA Film Washi S). The resulting negative has an opaque background, with transparent line art, perfect for projecting light through. The image below is a scan of the film—but of course, I can't show transparency in the film, I can only show the light shining through the clear parts of the film, which is in this case pure white.
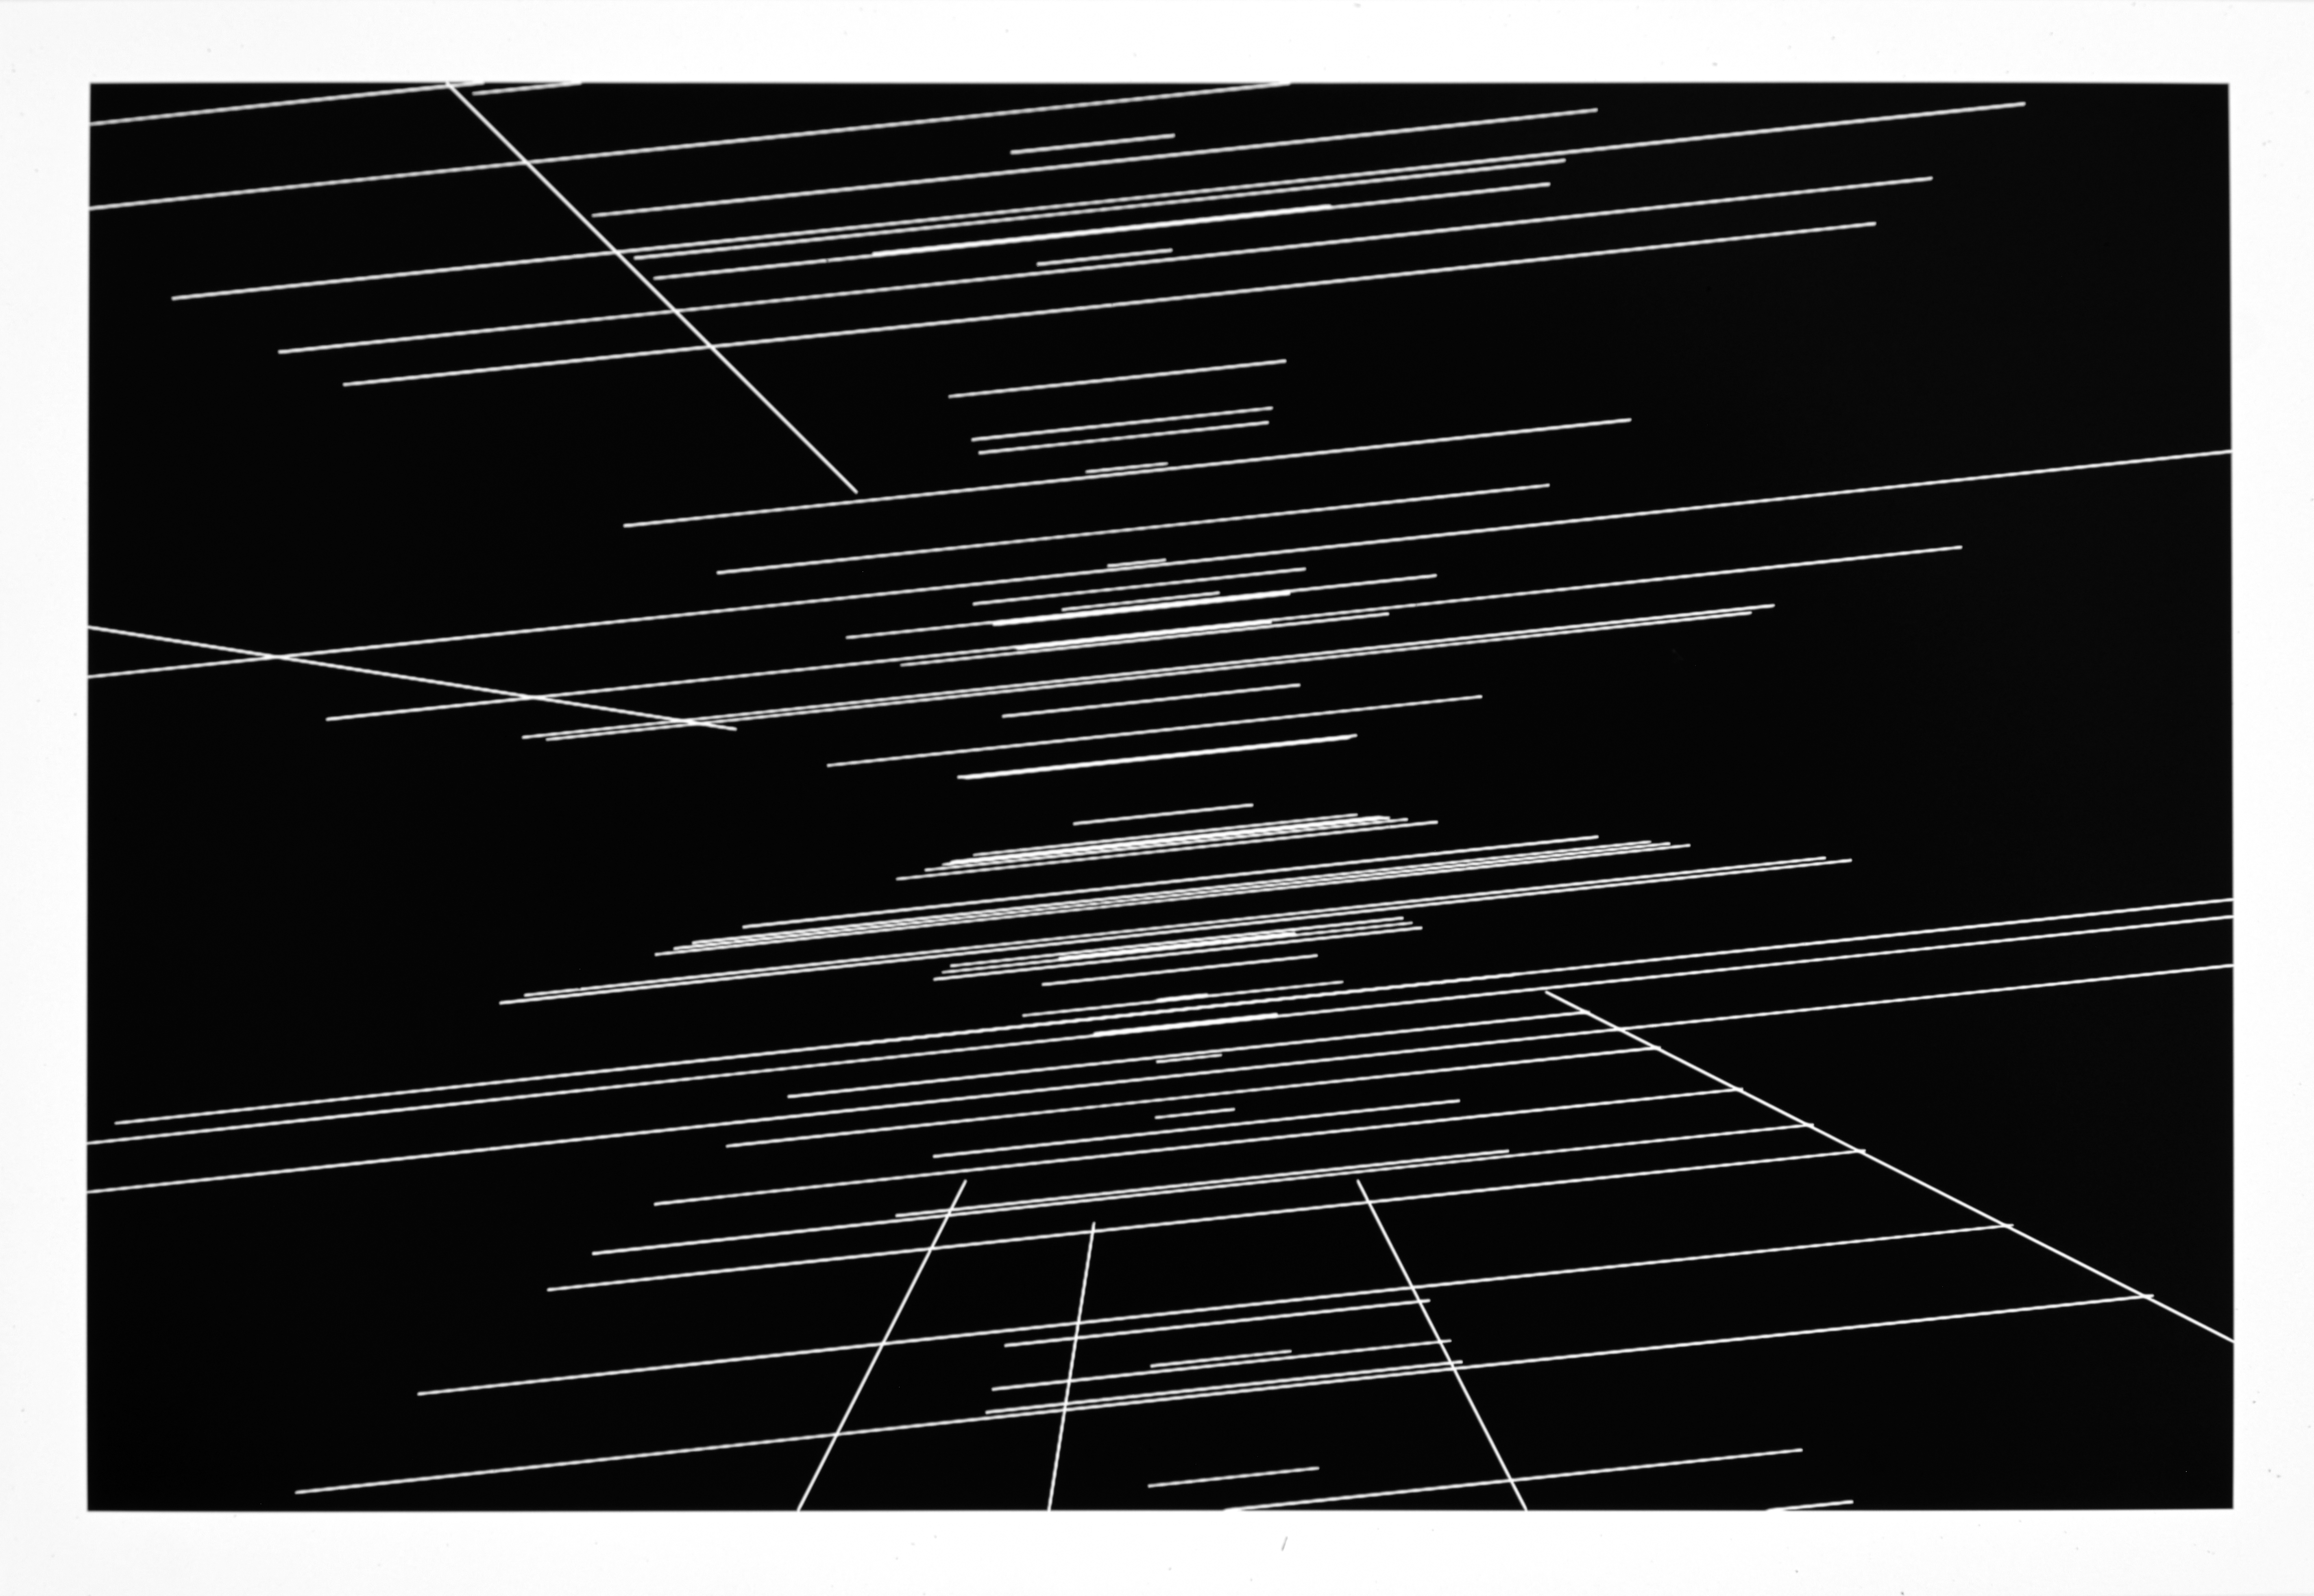
Can you see the mistake I made here? I didn't, not until it was too late. I left a black border (rendered clear/white in the negative) that I aimed to use for image registration purposes (more on that in a moment), but I shouldn't have. Not only did I not need it, it created some unwanted halation that you'll see below.
Background
The next step was to create a gradient to use to backlight the image. I also needed to create a black mask to (as best I could, anyway), counter the white frame I shouldn't have created in the negative. This involved placing an iPad as a lightsource underneath my scanning rig, and mirroring my laptop screen to the iPad. Then, I created the mask and gradient in Affinity Designer. On a third monitor, I was running Capture One, connected to the scanning camera in live view, so I could see a live preview of the changes I made to the lighting source. It sounds complicated, but in fact it worked out really well.
Adding color and glow
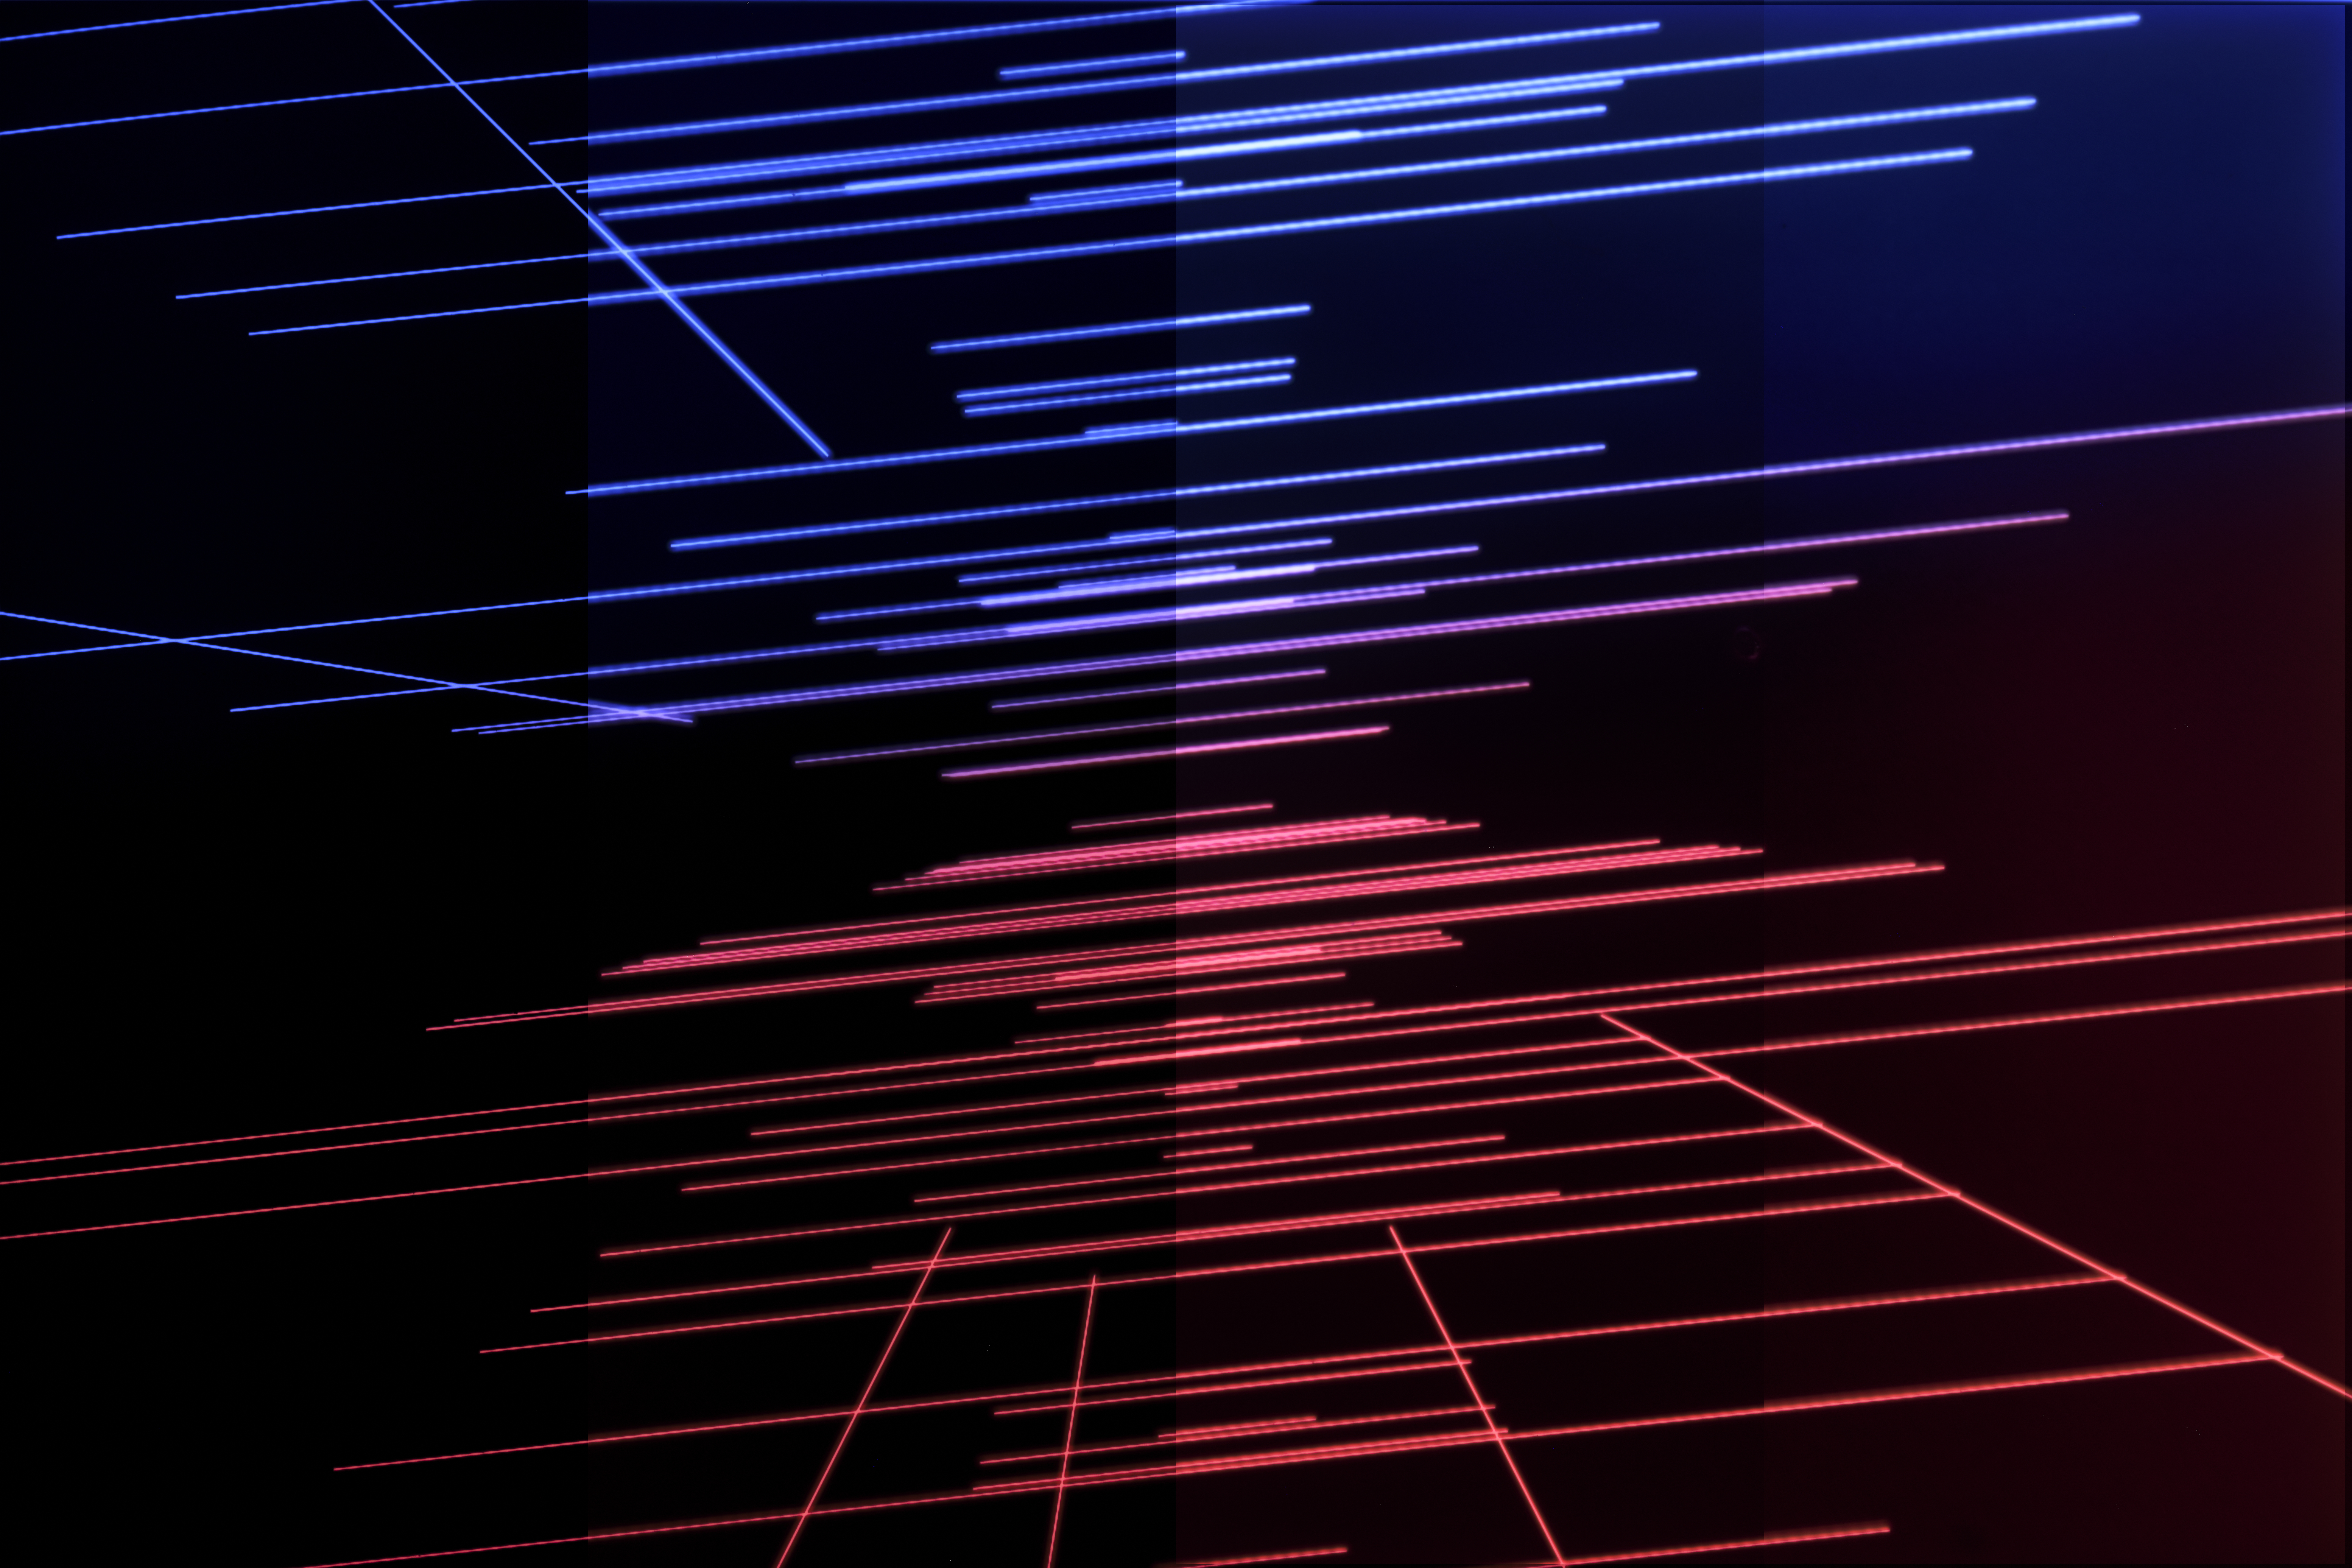
Projecting the resulting gradient from the iPad, through the film, and captured with a digital camera resulted in images like this one.
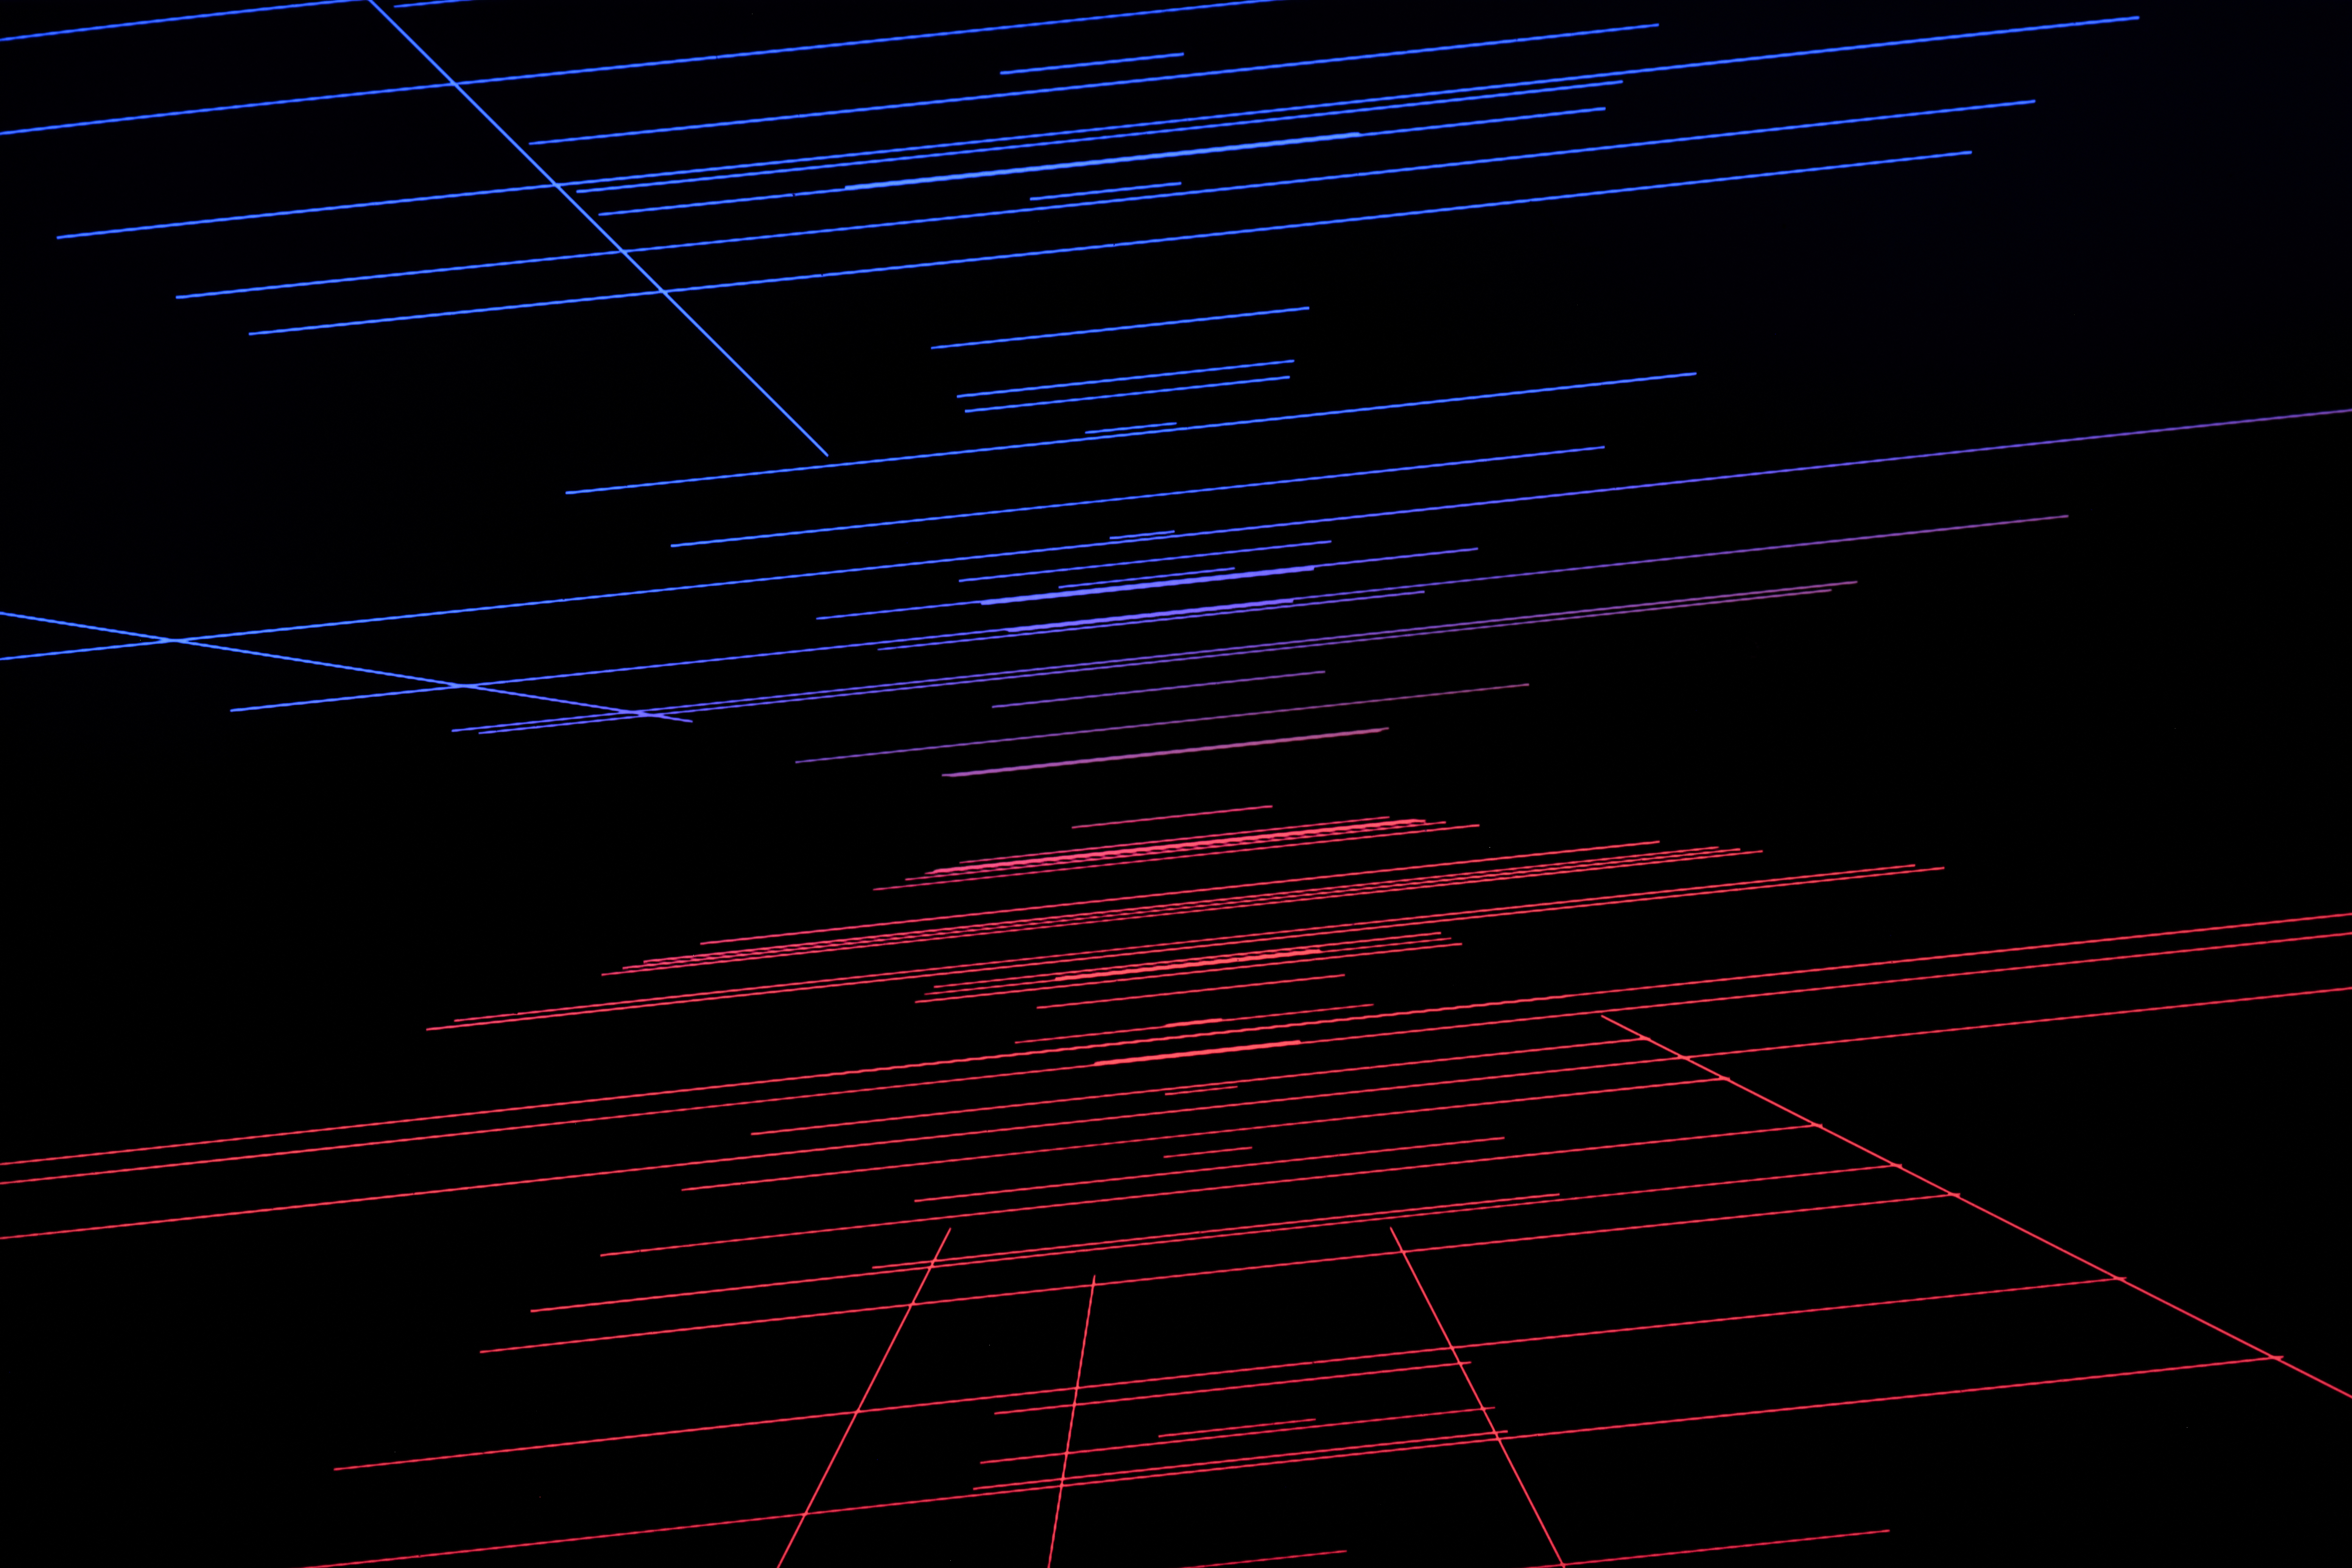
Beautiful, but the whole point of this exercise was to create a glowing image—this is definitely not glowing. We need more.
For each image, I did things slightly differently, but in essence I then took one to four additional scans, doing some combination of…
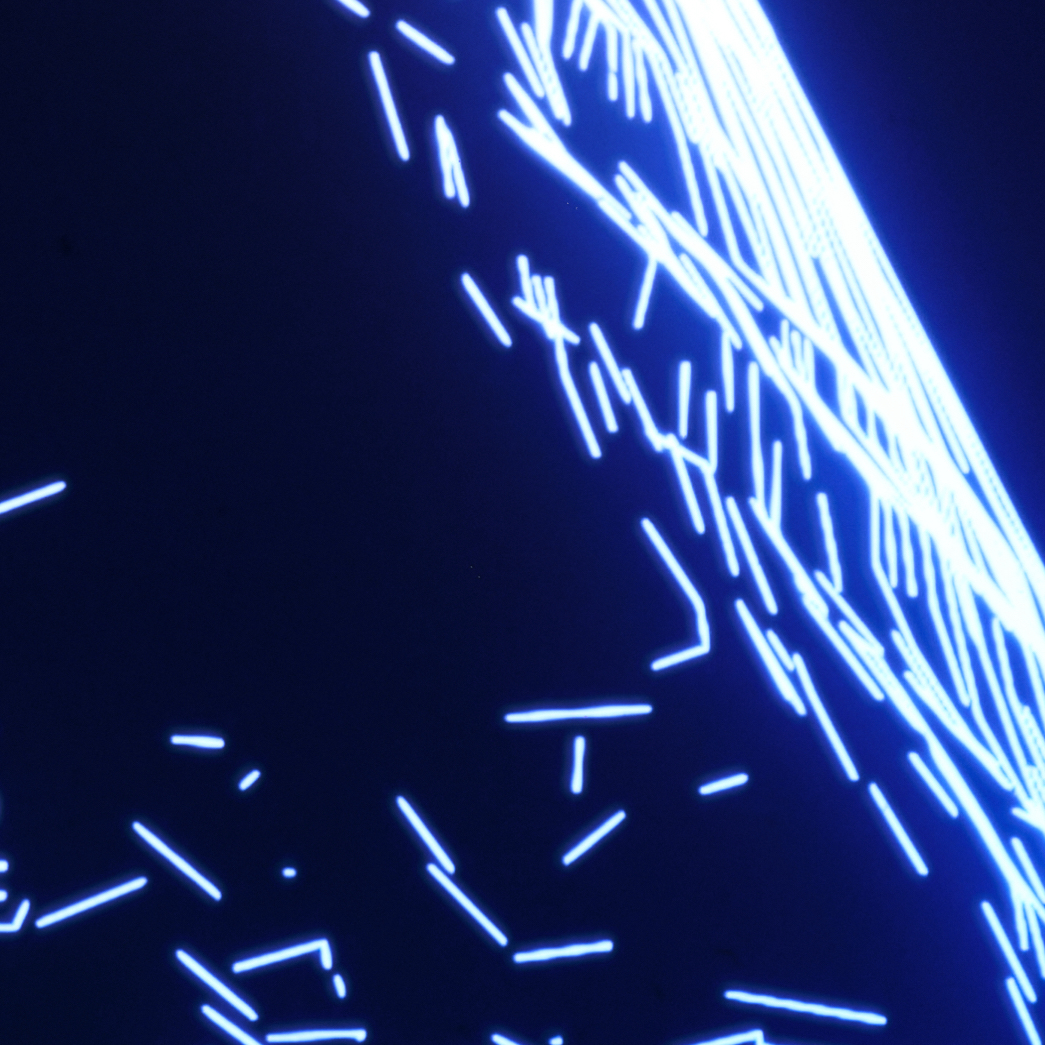
- Using a black mist filter to create halation
- Taking the shot out of focus
- Doing both at the same time.
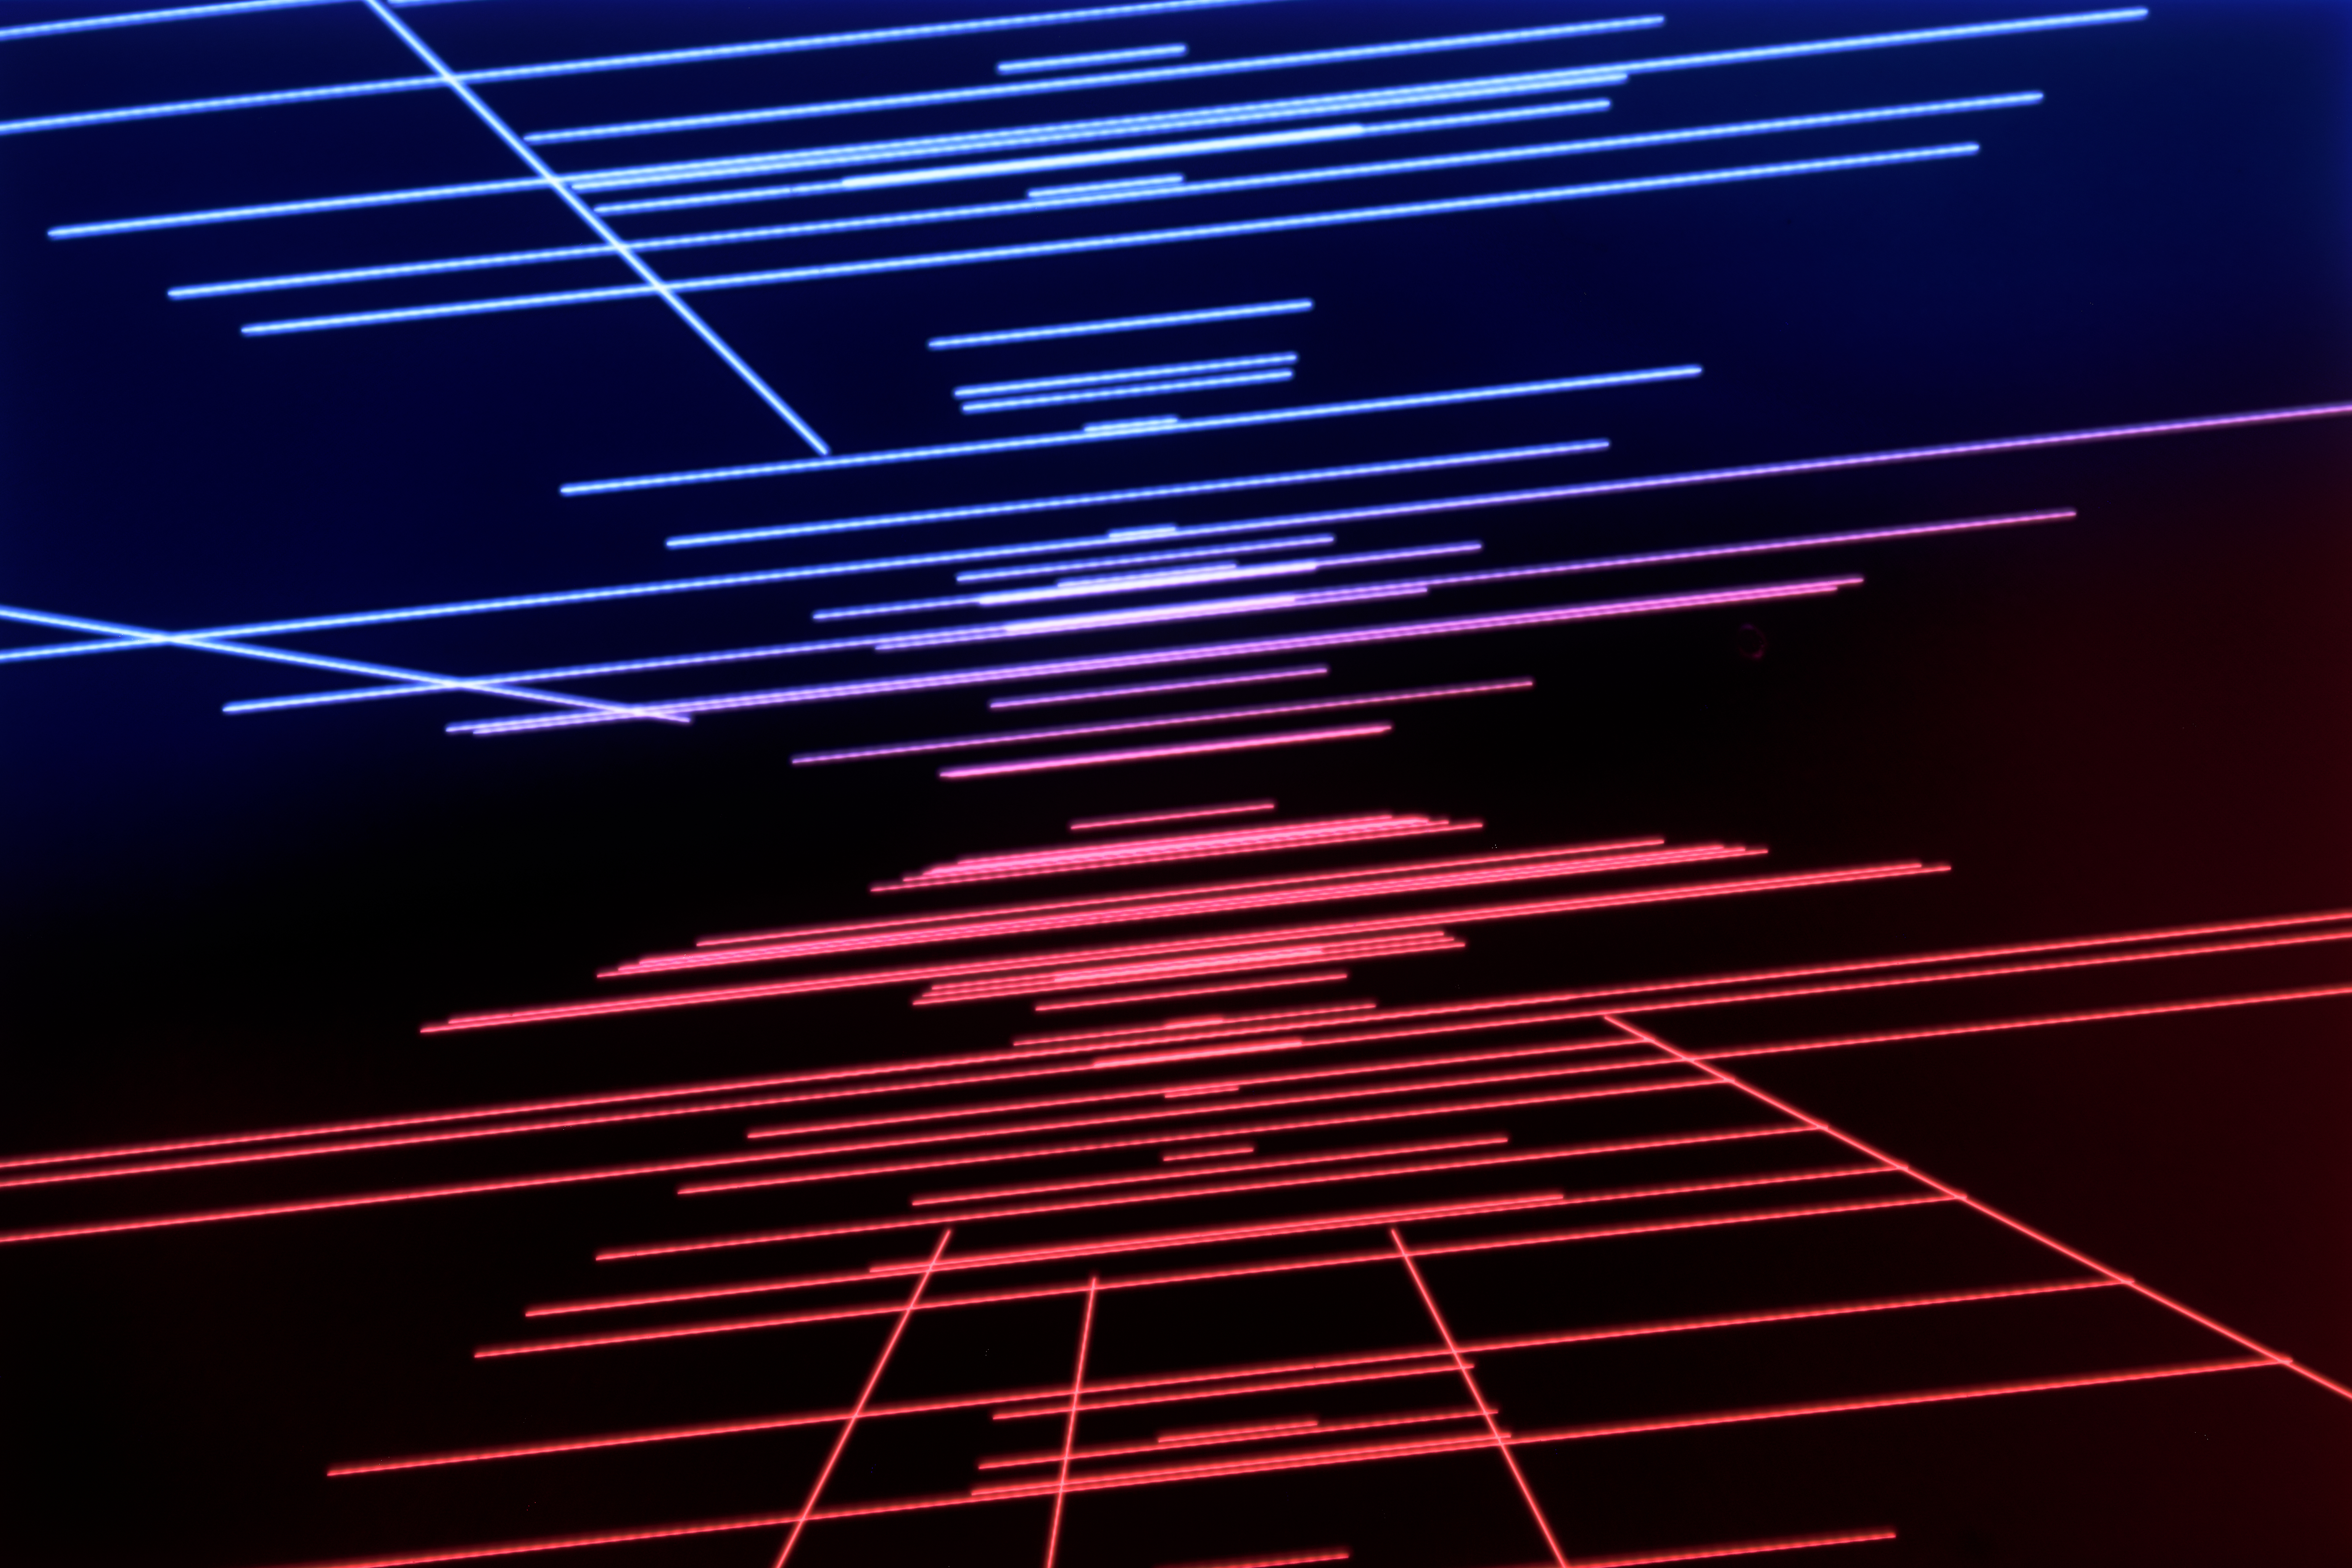
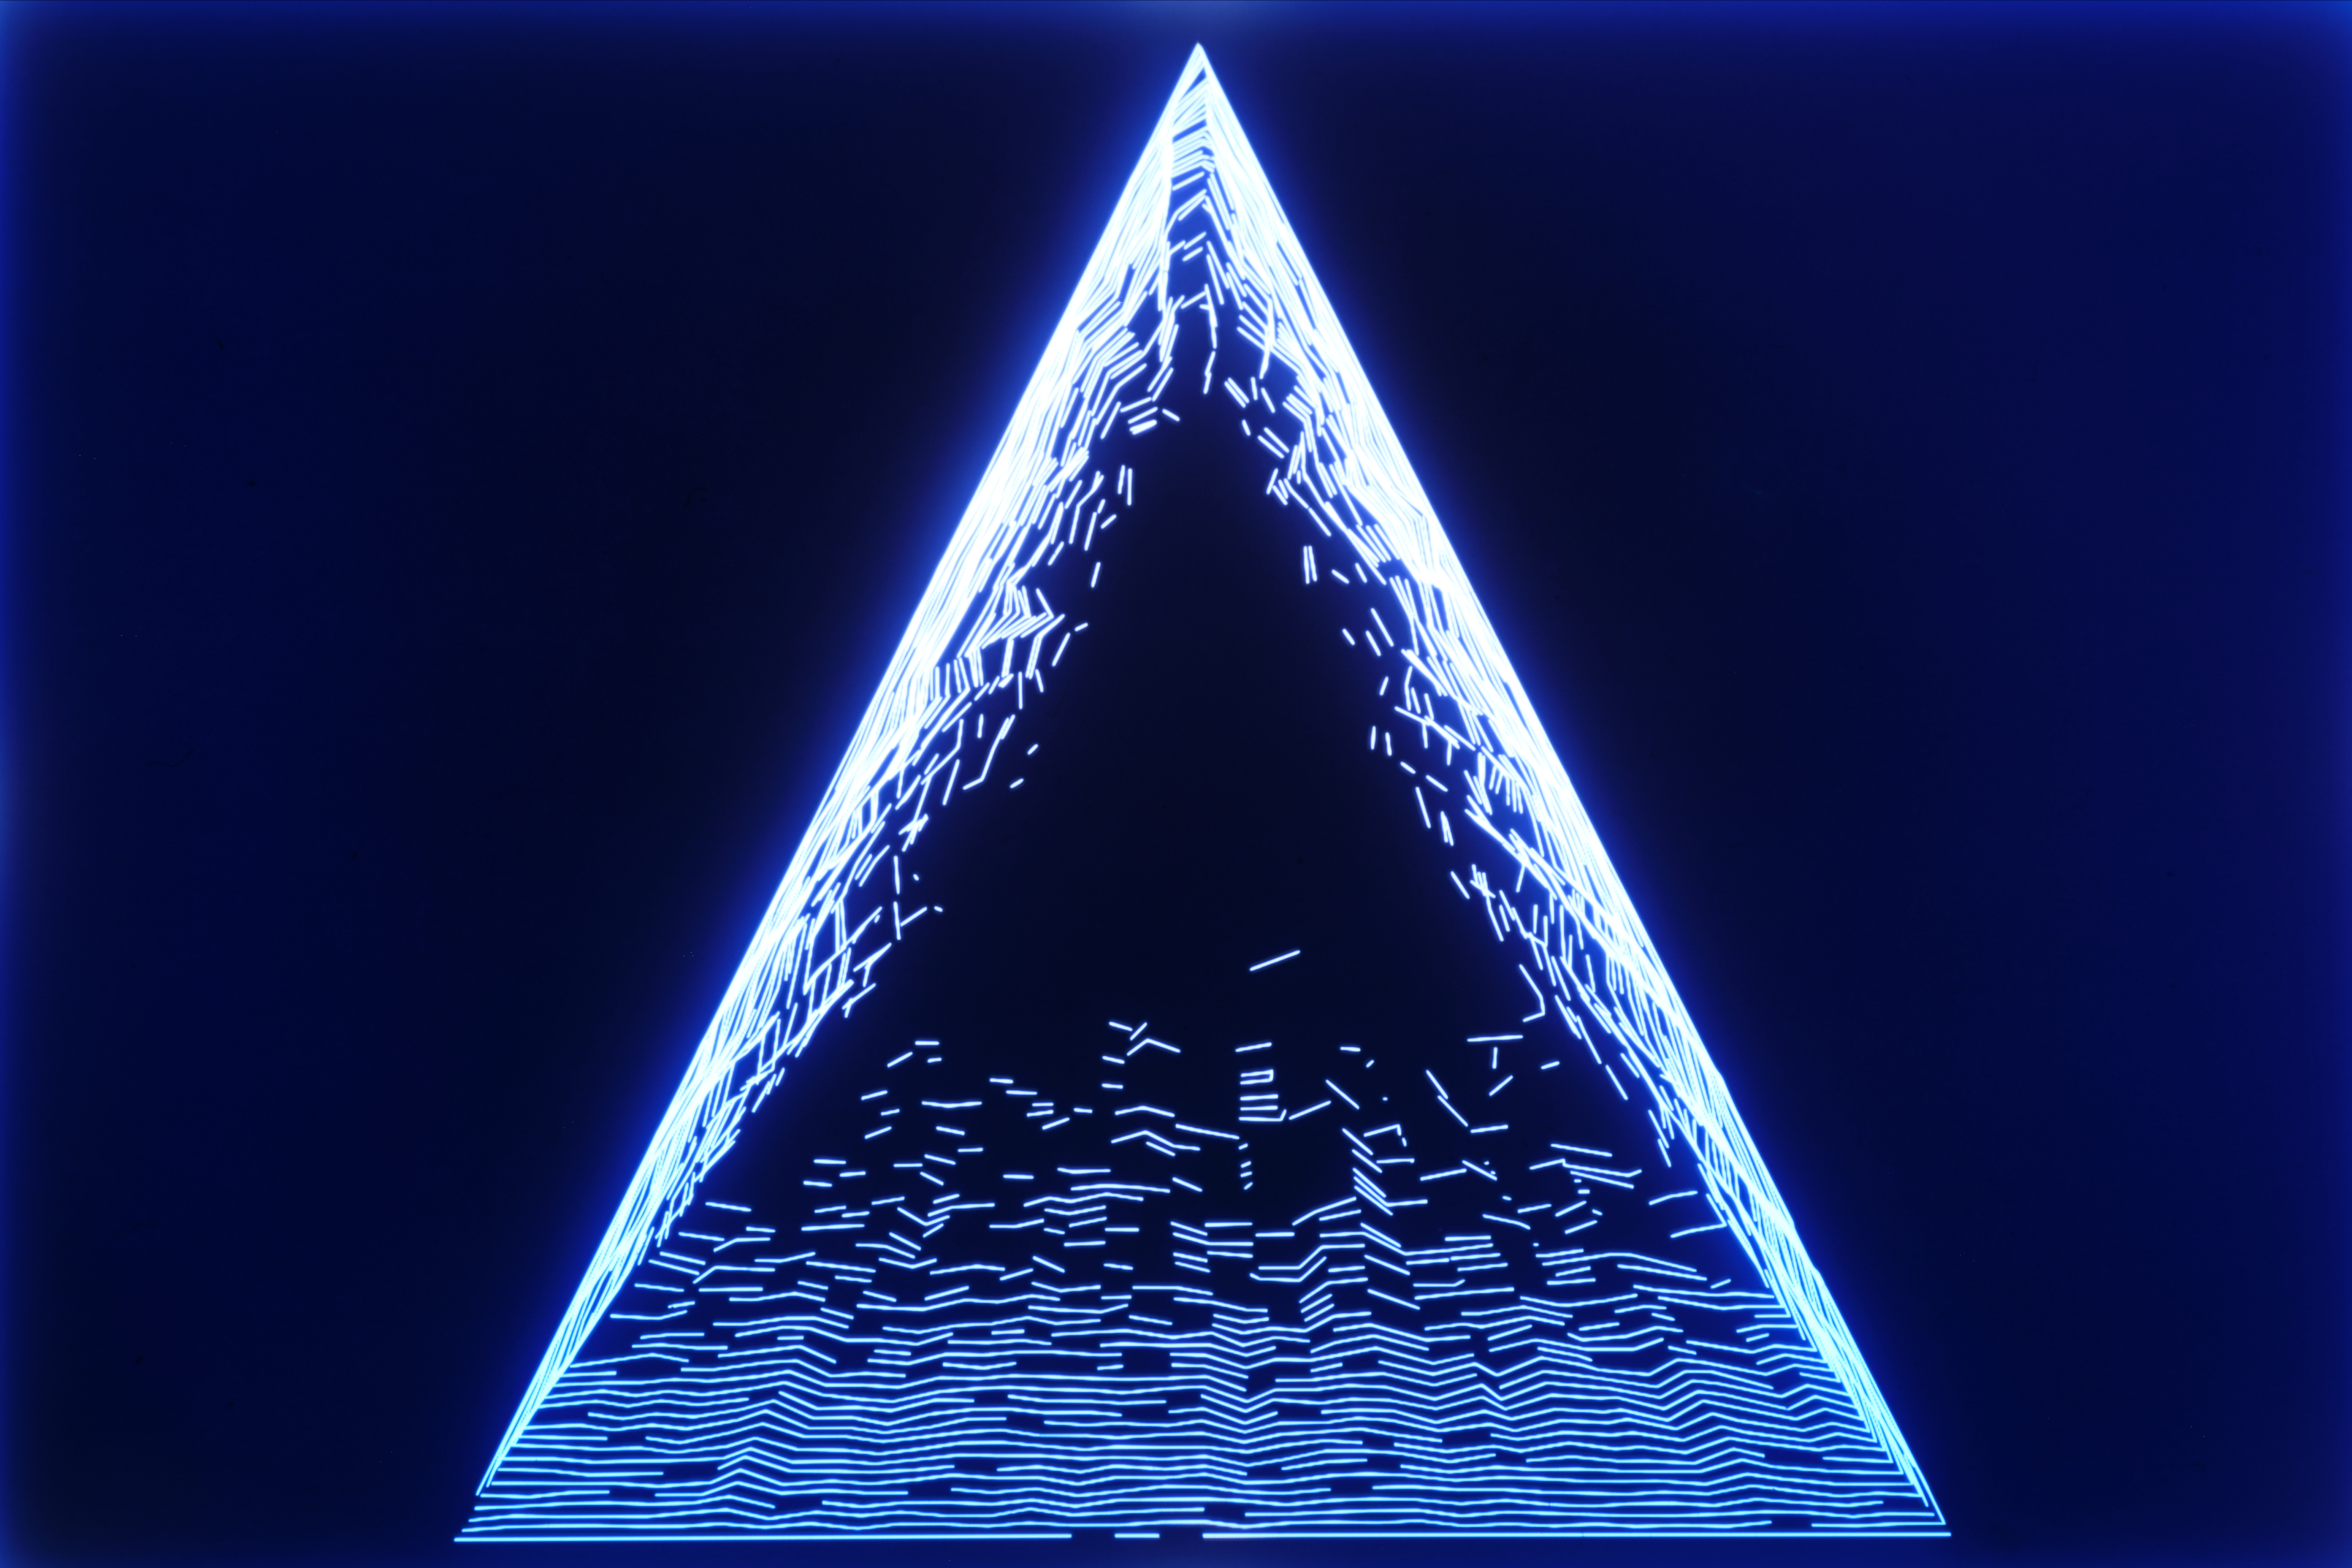
I then loaded up the resulting images into Affinity Photo, and stacked them using the "Screen" blending mode. Here you can see how I built up a glow one layer at a time, moving from left to right:
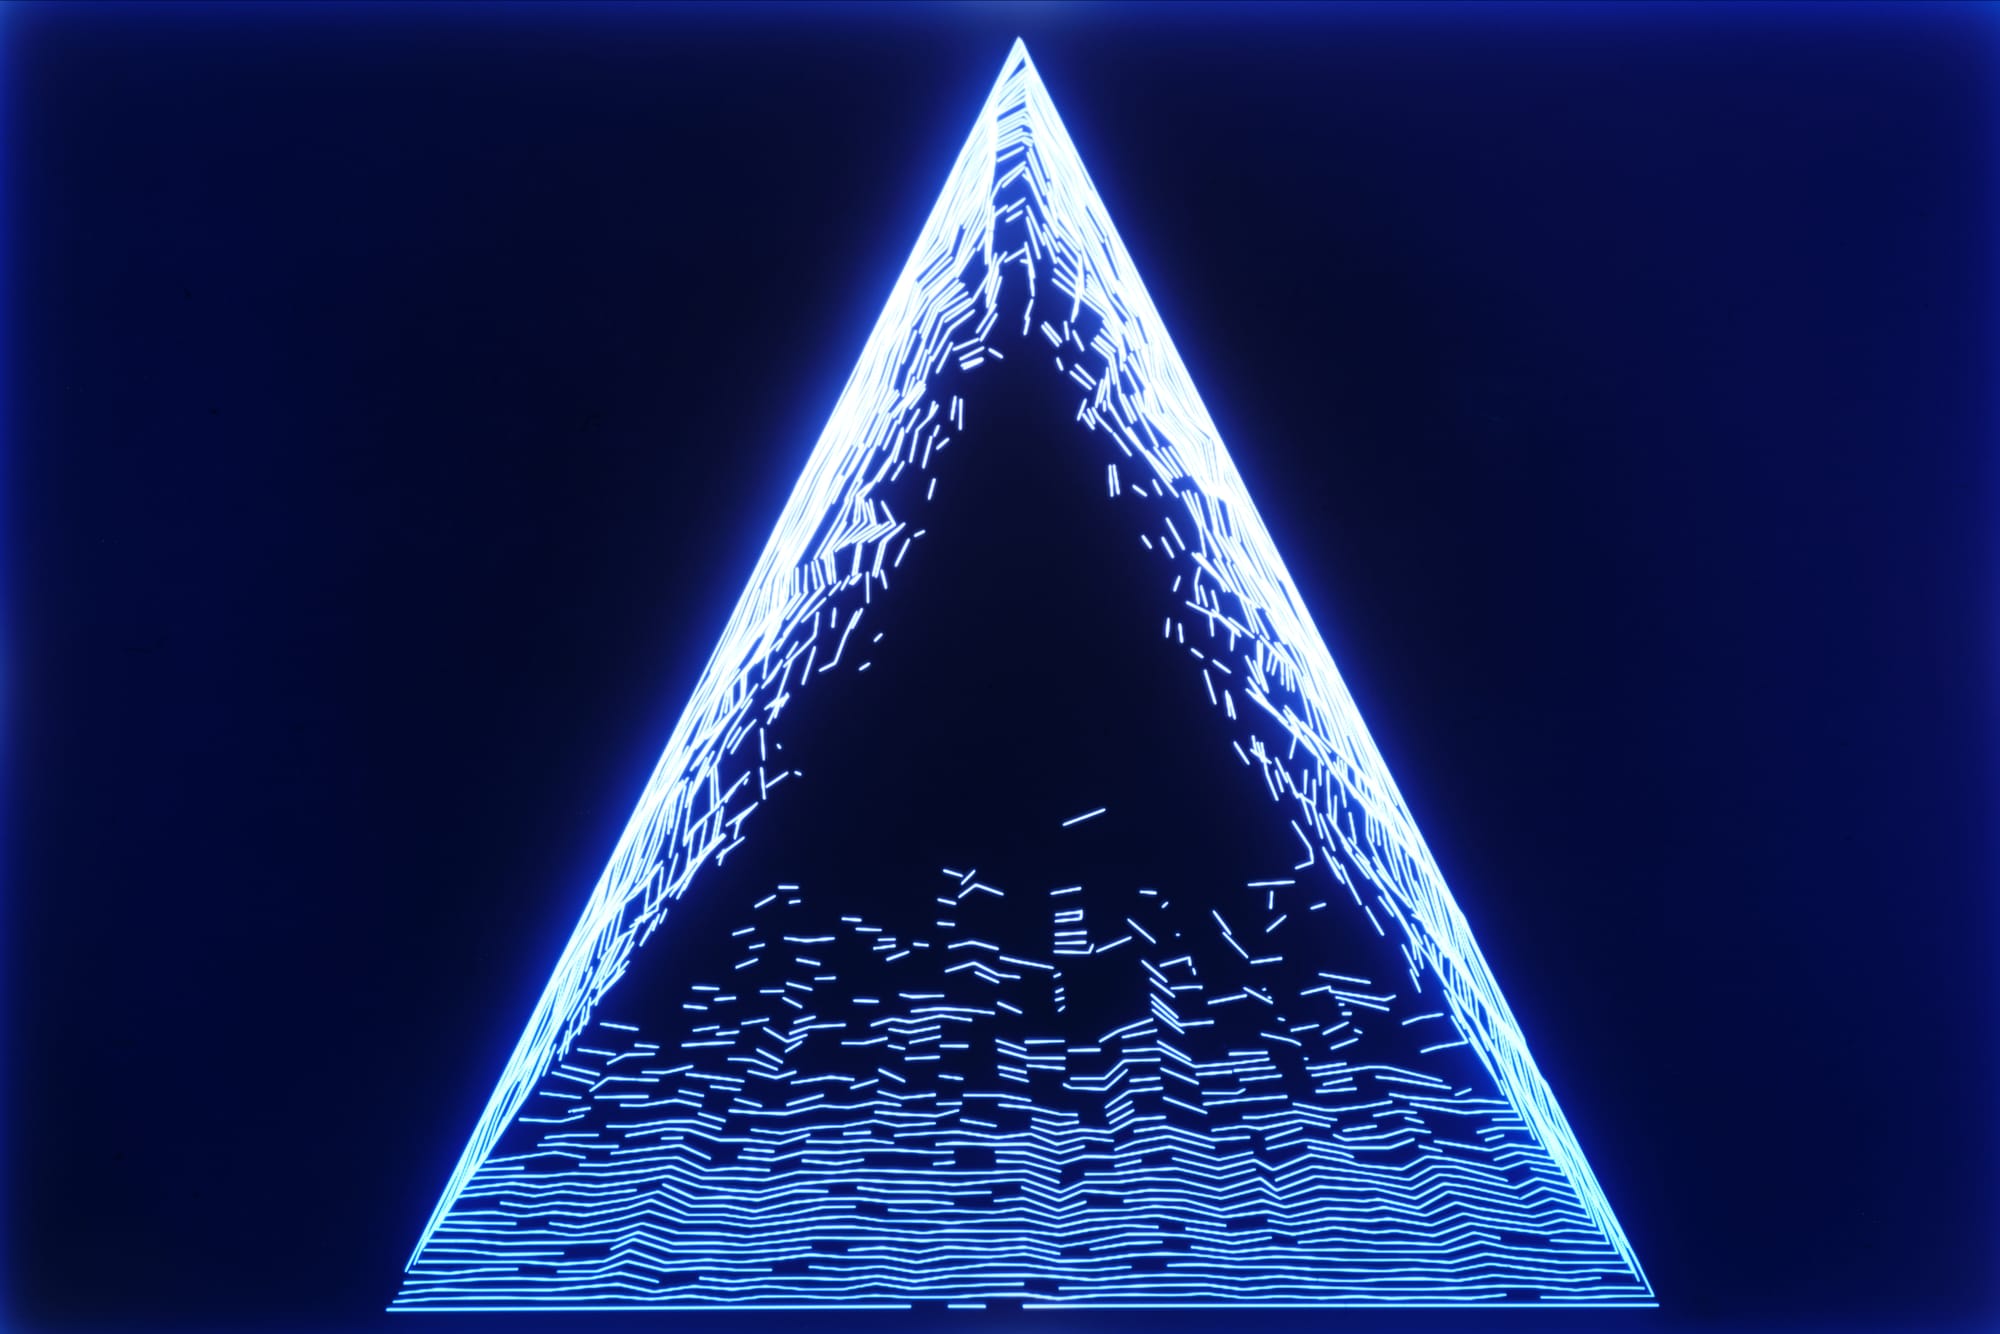
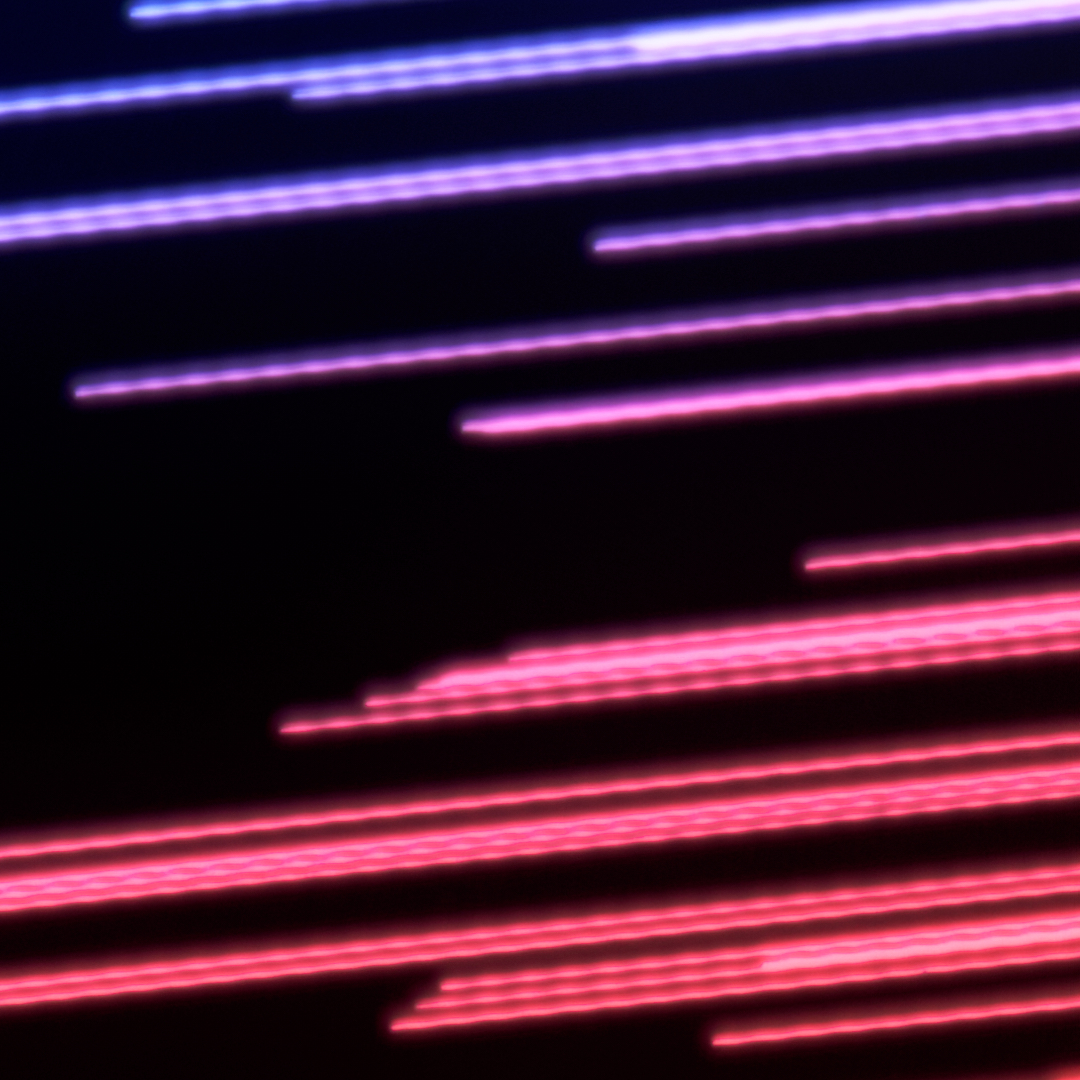
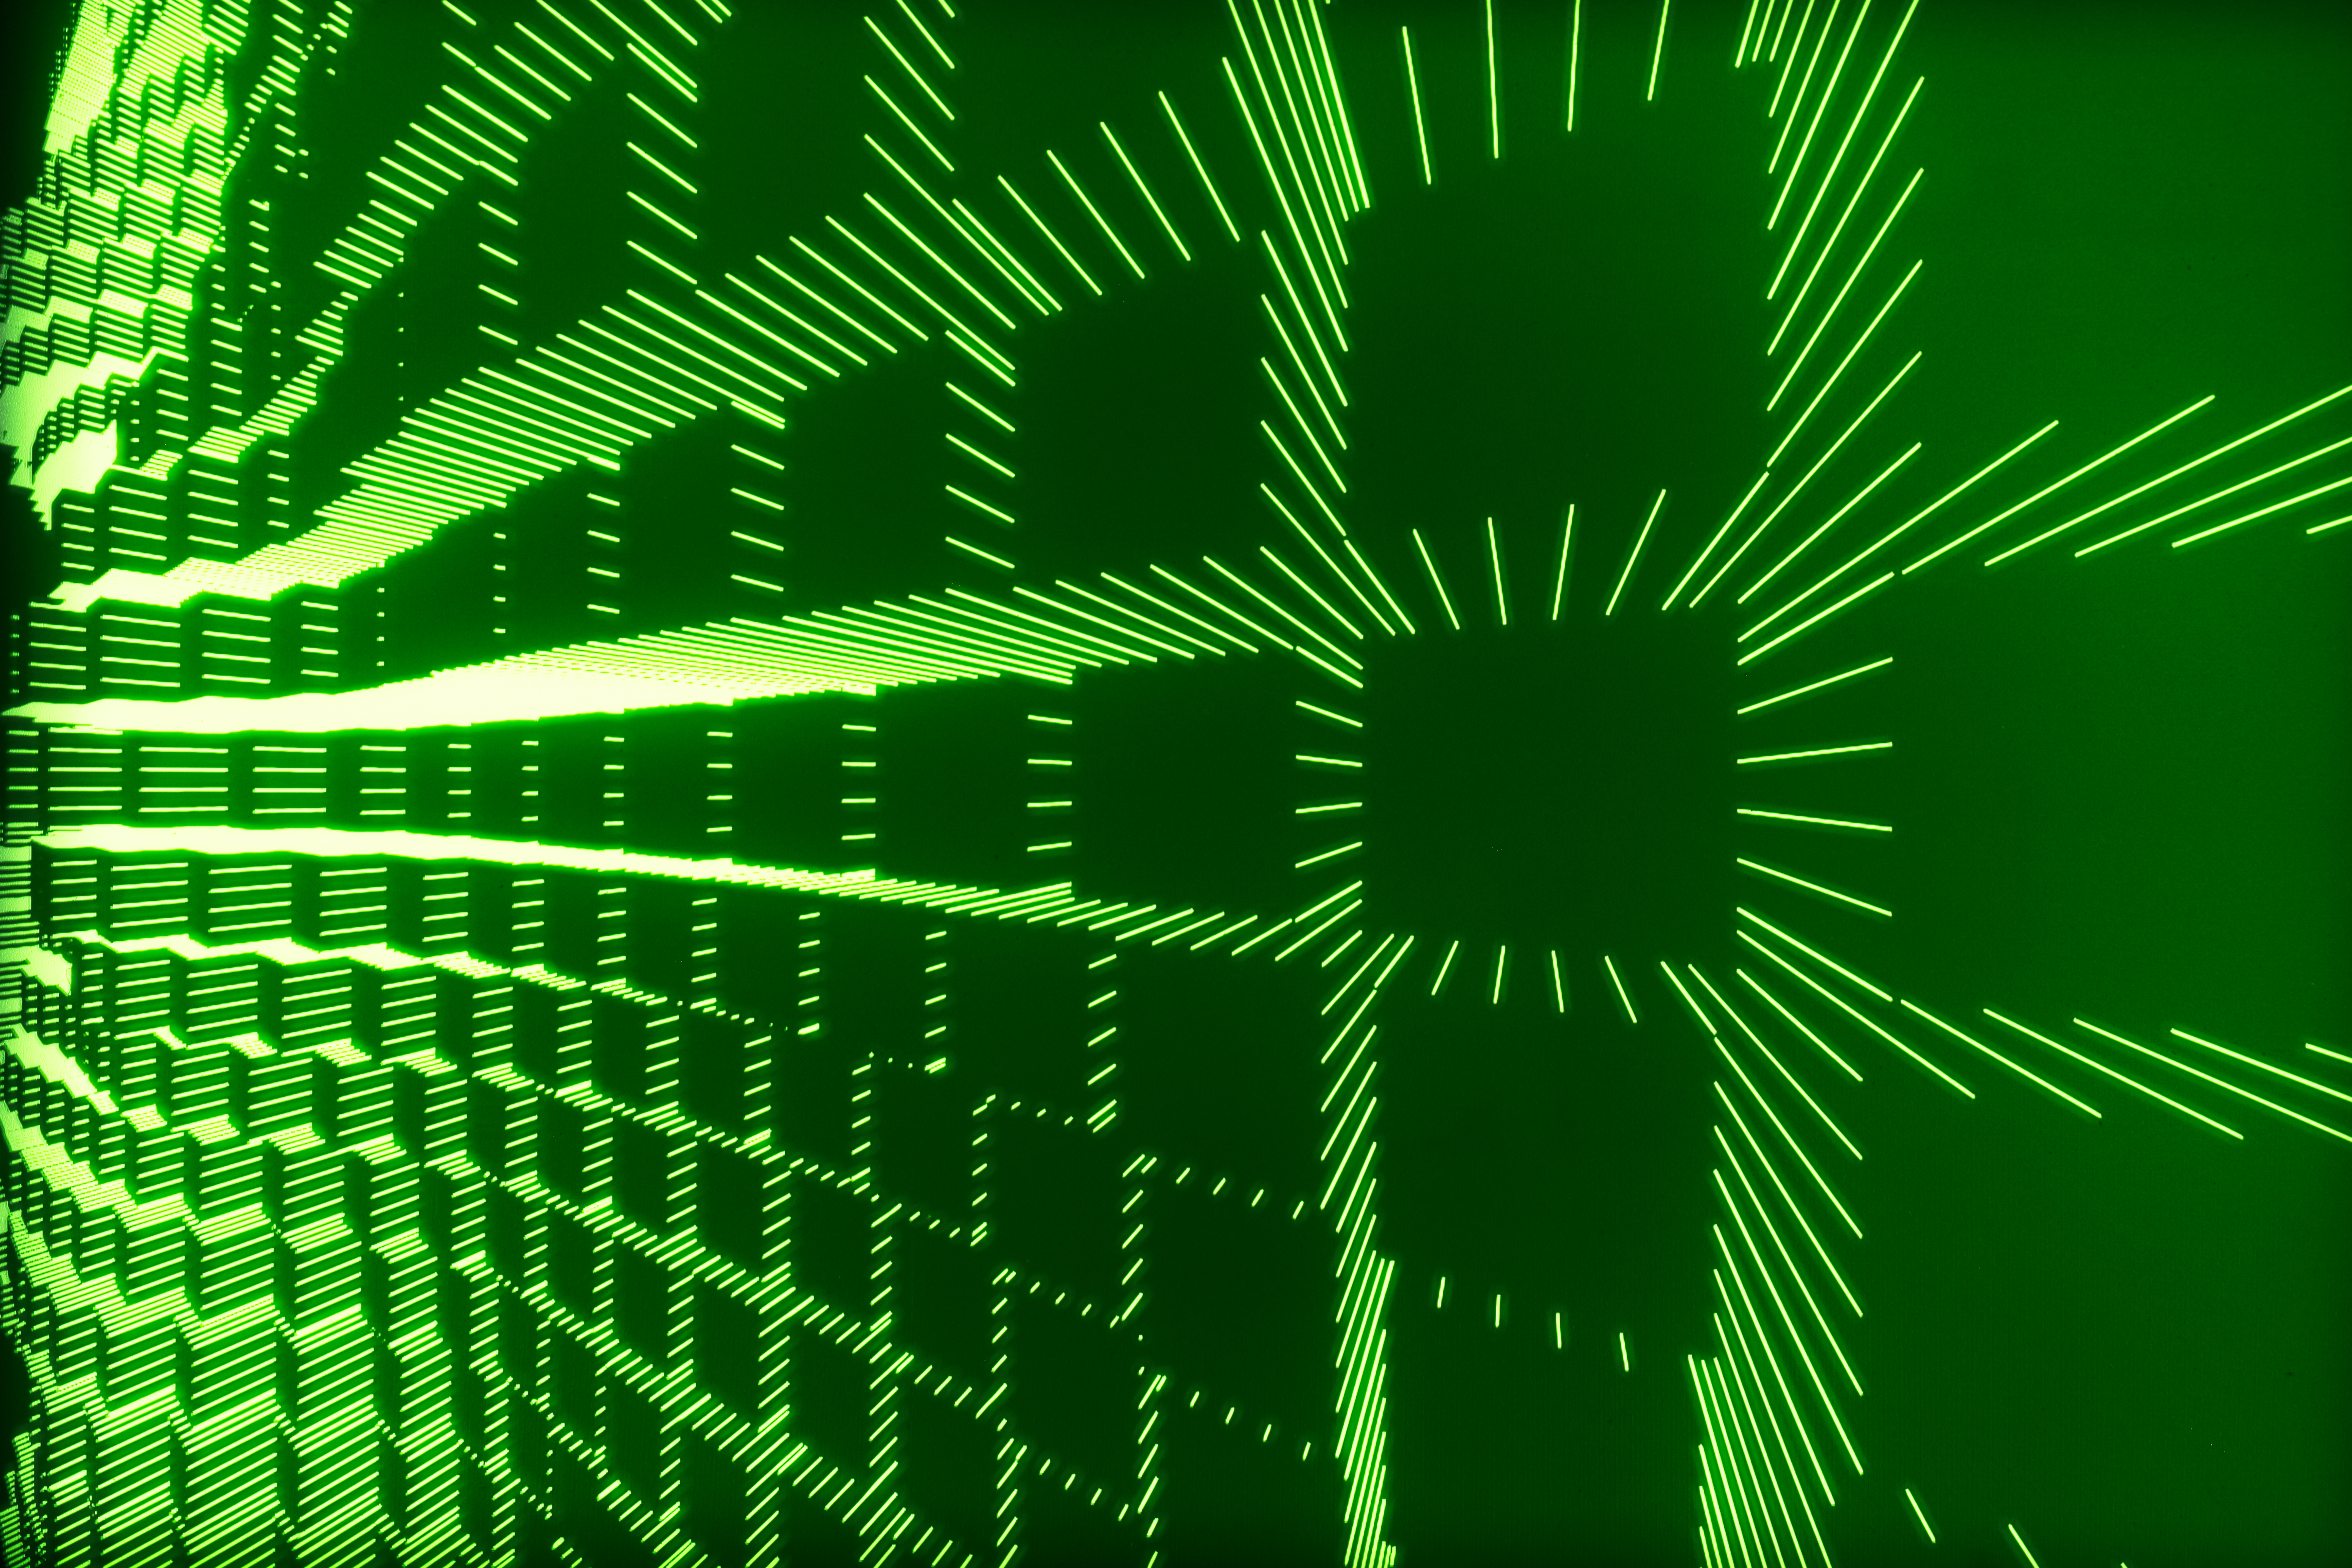
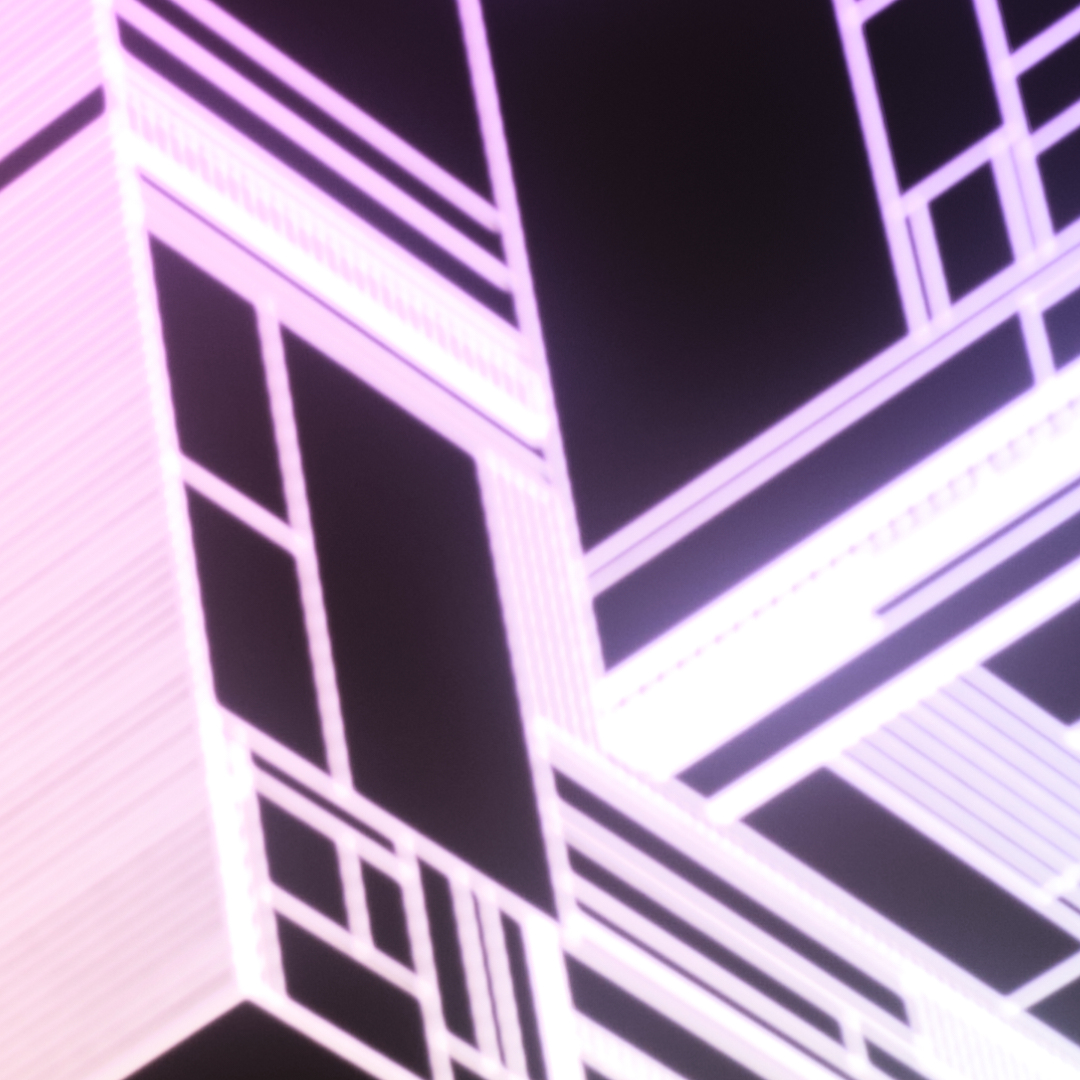
The results
I'm extremely happy with the results. They exhibit just the kind of glowing effect I'd hoped for. There is too much halation around the edge of the images, resulting from my mistake with framing the digital line art, but this is easy to fix in the next iteration. The subject matter is not always my favorite (except the triangle, I absolutely adore the triangle), but the line art has been a useful medium to get me this far.

Next steps
The next step is to try something more pictorial, something that I can extract high-contrast mattes from, and then combine to make a final image where the glowing effect complements the subject. As of yet I don't know what I'm going to try and it might be a little while until I can figure that out.
Generative Art Sources
- https://doersino.github.io/uji/#r880ro-6e0ex0.968se20sk0.91i81w900h600f51wavi1.6j0fa52seg90segm500
- https://observablehq.com/@makio135/roland-dxy-1300
- https://observablehq.com/@makio135/hello-ln
- https://doersino.github.io/uji/#s3r240e0.99ex0.99t0.6se102sk0.04i2000w700h600f56tra-1.1wavi2j2fa14exp20expa20sh-10